Adding a payment method and topping up AI credit
Every new TalkIDE account starts with some AI credit already in it, so you can build for a while before thinking about payment at all. At some point that runs low, and you want to add a real card and top up more. This tutorial covers exactly that: saving a payment method and buying more AI credit, step by step.
Before you start
- A TalkIDE account, signed in and looking at your Studio.
- A real payment card you’re ready to use. TalkIDE uses Stripe to process it, and your card details go straight to Stripe from your browser. TalkIDE’s own servers never see them.
Step 1: Open Billing & usage
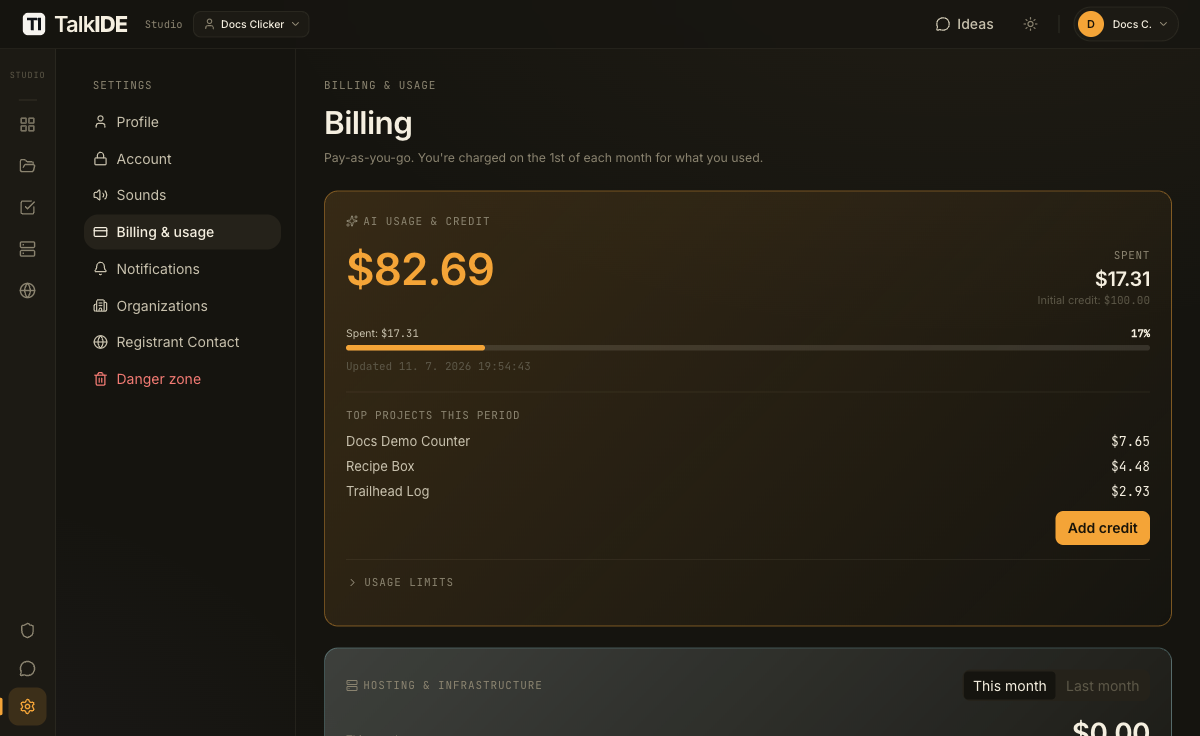
Click your avatar in the top right, then choose Billing & usage from the dropdown menu.
That takes you to the Billing page (the menu item is labeled “Billing & usage”, the page itself is just headed “Billing”). Its subtitle mentions that hosting is billed separately, pay-as-you-go, on the 1st of each month. That’s a different invoice from the AI credit you’re about to top up, and it’s not this tutorial’s focus. The part you want is the AI credit card near the top, plus a payment method section further down.
Step 2: Add a payment method
Scroll to the payment method row. If you haven’t saved a card yet, it reads “No payment method on file”, with a note underneath: “We use Stripe. Your card details never touch our servers.” Click the Add card button next to it.
That opens an inline Stripe card form: card number, expiry, and CVC, plus a postal code field. All four are required, and the Save card button stays disabled until the postal code is filled in too, so don’t worry if it doesn’t enable right after you type your card number.
Fill in your card and click Save card. Within about a second, the form collapses into a saved-card confirmation showing your card’s brand, its last four digits, and its expiry date. The button next to it now reads Change instead of Add card.

If Stripe rejects the card, the reason shows up right there in plain language, something like “Your card was declined.” Only one card is stored at a time. Saving a new one replaces whatever was there before.
Step 3: Add AI credit
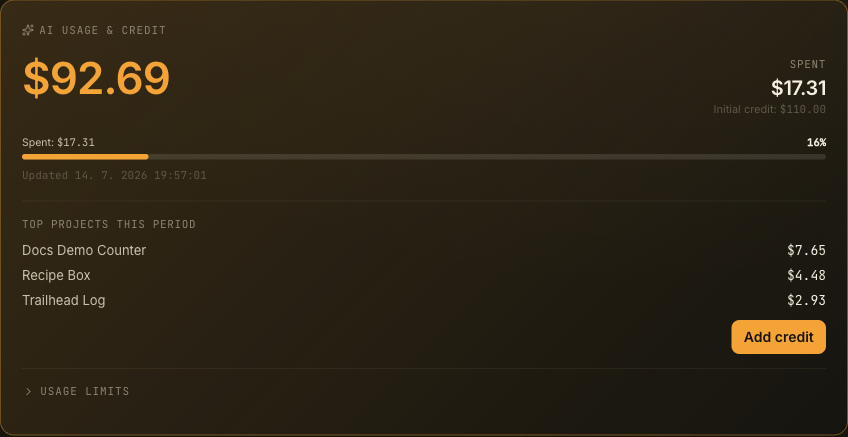
With a card on file, click Add credit, the button on the AI credit card near the top of the page. A dialog titled “Add AI credit” opens with a single field, Amount (USD).
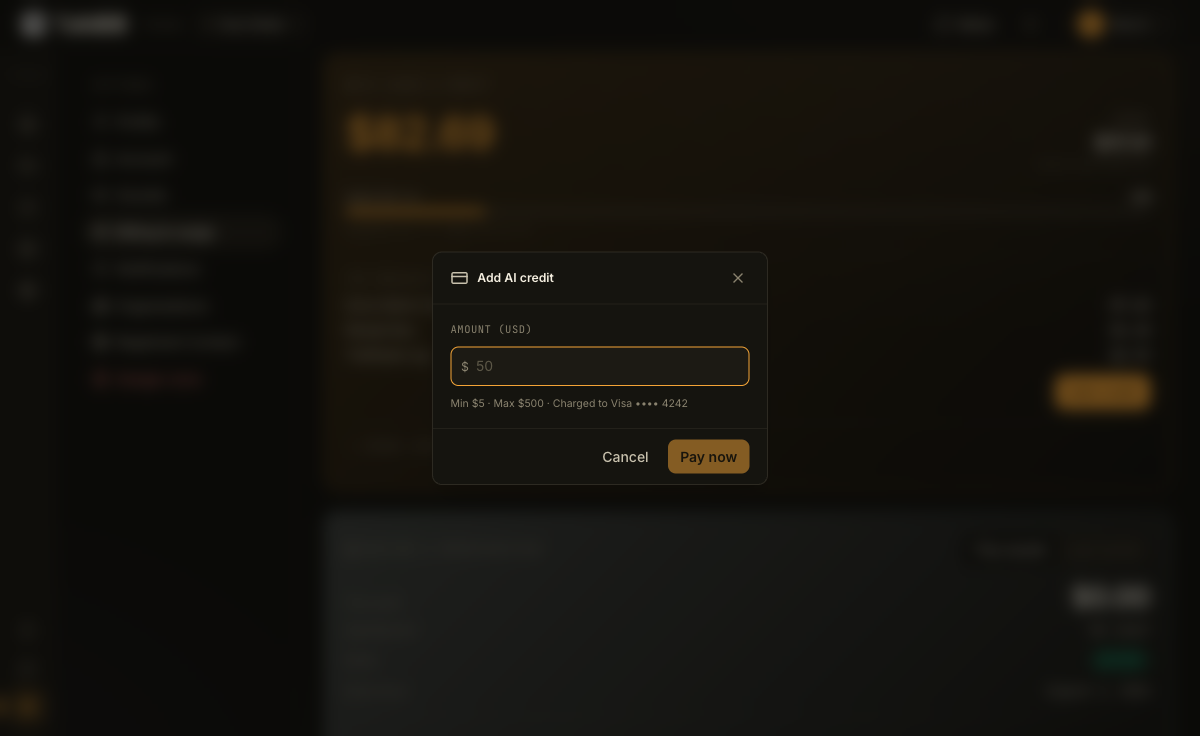
The helper text under the field spells out the boundaries: a minimum of $5, a maximum of $500, in whole dollars, and it names the exact card that will be charged. Pay now stays disabled until you type an amount.
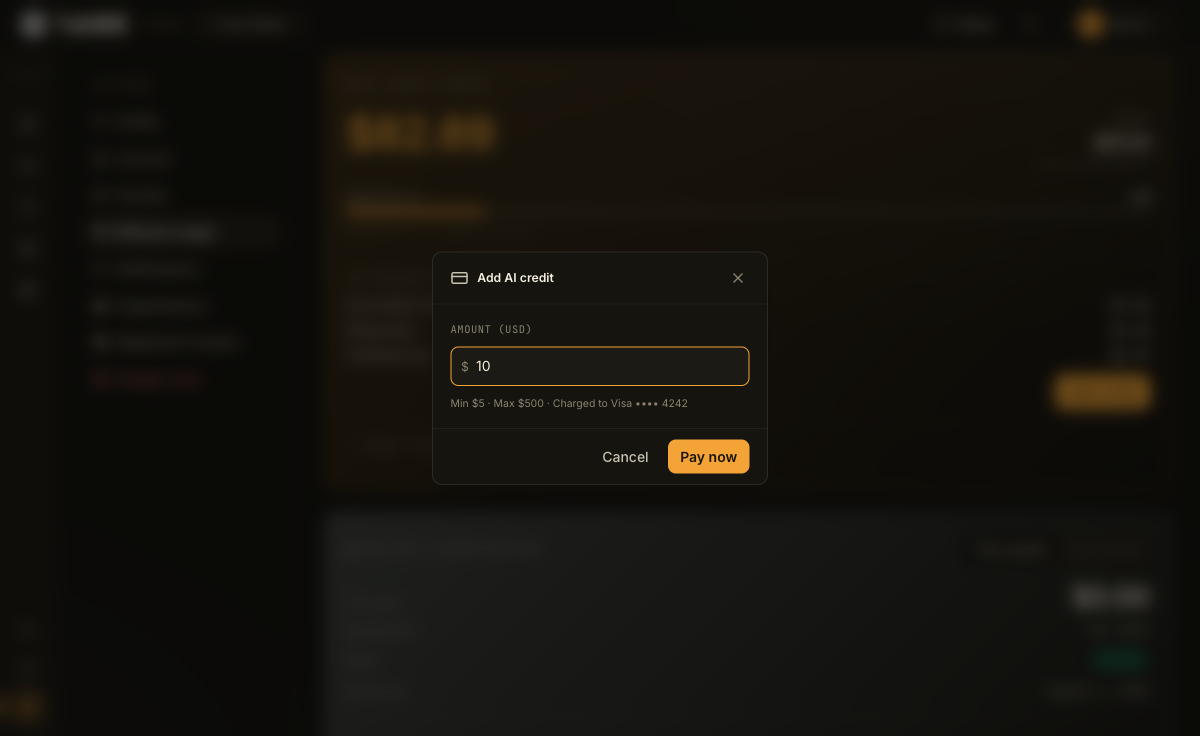
Enter how much you want to add and click Pay now. This charges your saved card immediately, once, for that amount. Depending on your bank, you might see a brief verification step before it goes through. If that happens, just complete it. Otherwise, it confirms right away with nothing extra to do.
Step 4: Watch your balance update
Once the payment goes through, the dialog closes and a confirmation message appears, letting you know the payment was submitted and that your credit will show up in a few seconds.
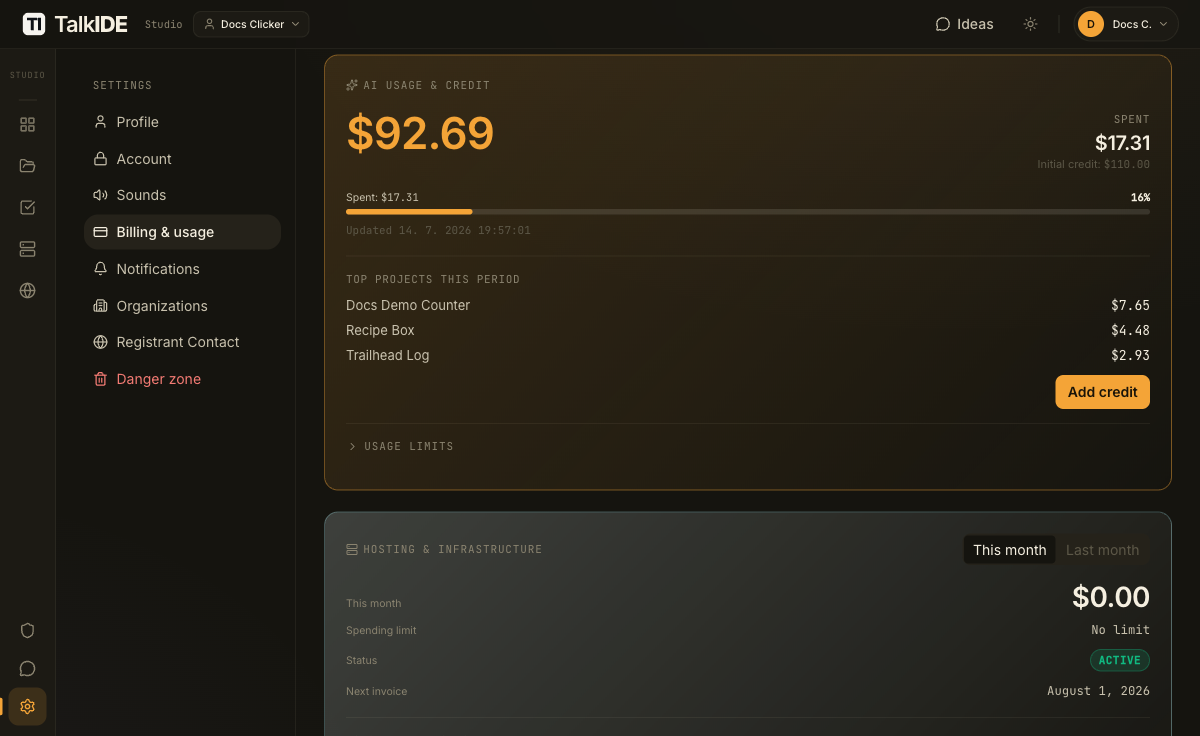
Crediting happens a moment after the charge itself, so don’t worry if the number on your AI credit card doesn’t jump the instant the dialog closes. Give it a few seconds and it’ll be there.
A receipt also lands in your inbox shortly after, with a link to your Stripe invoice.
If you try to add credit before saving a card, TalkIDE stops you right there and asks you to add a payment method first.
Where your invoices show up
Below the payment method section, the Invoices table lists every past invoice on your account: invoice number, date, amount, and a status pill (paid, open, void, and so on). Each row has a Download PDF link that opens Stripe’s own hosted invoice page in a new tab.

If you haven’t been charged for anything yet, this table just says “No invoices yet.” A paid row for your top-up fills in a little after your balance updates, so don’t be surprised if it takes a bit longer to show up than the credit itself does.
One more small thing while you’re on this page: there’s a Billing email field, which defaults to your account’s email address and controls where invoices and receipts get sent. Change it there if you’d rather they land somewhere else.
Related
- Add payments with Stripe: looking to accept payments from your own users inside an app you’re building? That’s a different topic from this page, which is about paying for your own TalkIDE usage. See that guide instead if you want your app to charge your users.
Thanks for the feedback.