Tutorial: Your first app
You’ve created your account. Now let’s turn an idea into a real, running app. On TalkIDE you don’t write code or fill in configuration forms: you describe what you want in plain language, and an AI team builds it for you. This tutorial takes you from an empty project to a working app: shaping the idea with Vera and her Business team first, then handing it off to Mara’s IT team to build. If you already know exactly what you want, you can skip planning entirely and jump straight to Mara — the tutorial shows you where.
Before you start
- A TalkIDE account, signed in and looking at your Studio.
- Nothing else. No tools to install, no code to write.
The two teams, in one sentence
Every project gives you two teams to talk to:
- Vera (Business) helps you shape the idea first: a written project brief and a clickable mockup you can click through before any code exists.
- Mara (IT) turns a plan, or your direct instructions, into a real, running application.
Every new project opens in a conversation with Vera by default, so you always start with a plan and a mockup. If you’d rather skip straight to building, you can switch to Mara at any point instead.
Steps
1. Create a project
From your Studio, click New project. A short dialog opens with three fields: a project Name, a one-line Description of what it should do, and an Accent color (Amber, Violet, Emerald, Sky, Magenta, or Ember).
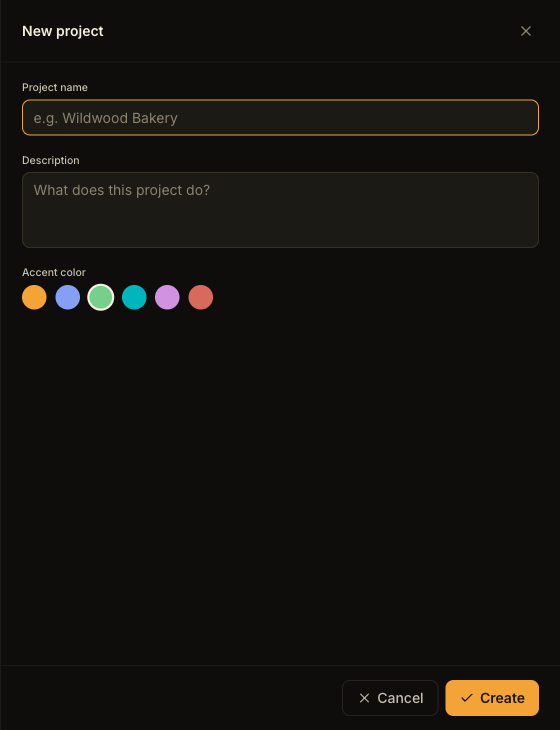
Fill them in and click Create.
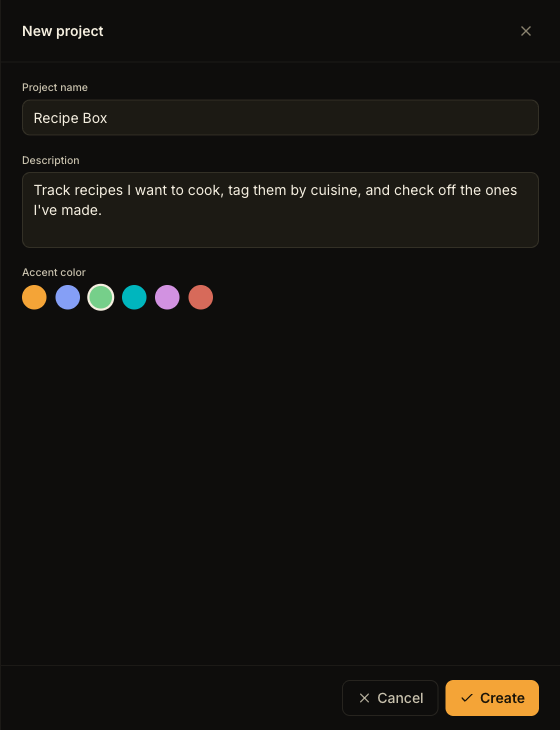
That’s the whole setup. There’s no tech stack to pick and no URL to configure right now. Every new project uses the same stack under the hood (a Kotlin and Spring Boot backend with a TypeScript and Vue.js frontend), viewable read-only later in Project Settings. Your project doesn’t get a public address yet either: you’ll pick one yourself, later, when you publish.
2. Meet Vera and the Business team
The moment your project is created, you land in its workspace, already in a conversation with Vera, your Business Partner. Every new project starts here by default. On one side is your chat with Vera; on the other is a live preview of your app, empty for now.
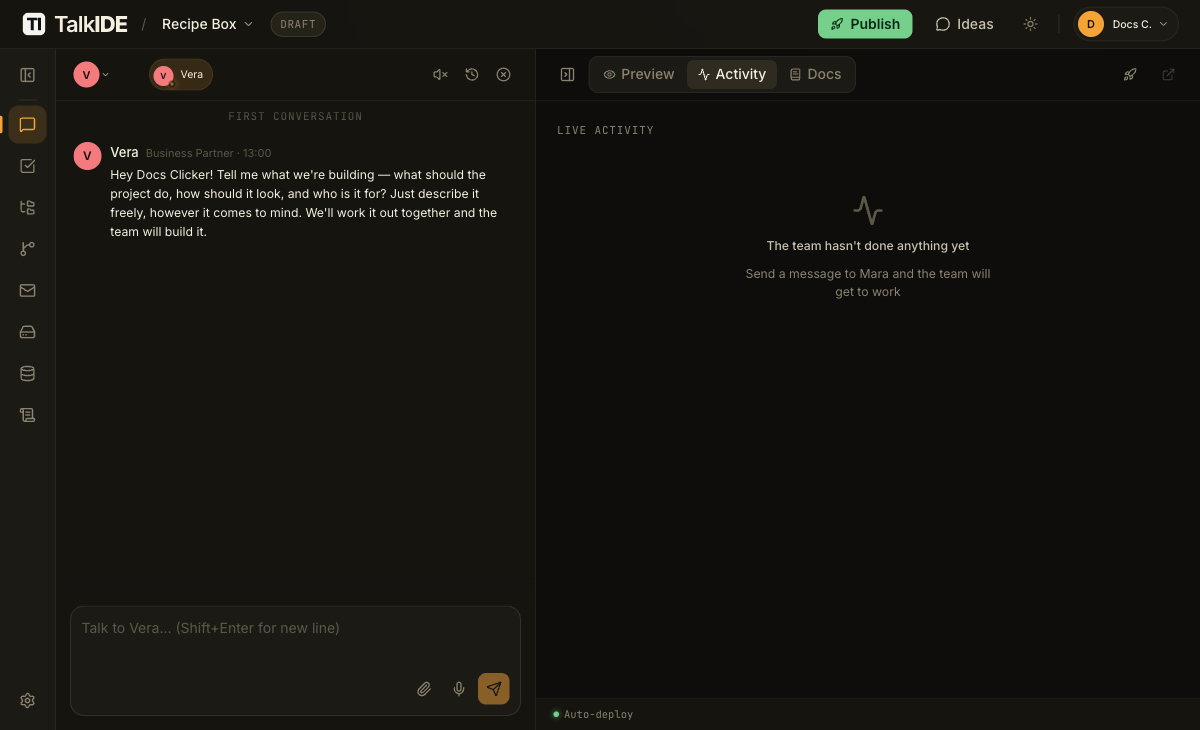
Describe your idea to Vera in plain language: what it is, who it’s for, and what matters most. Where your idea still has open questions, Vera comes back with a structured block of multiple-choice questions instead of guessing, so shaping the idea feels like a quick interview rather than writing a spec.
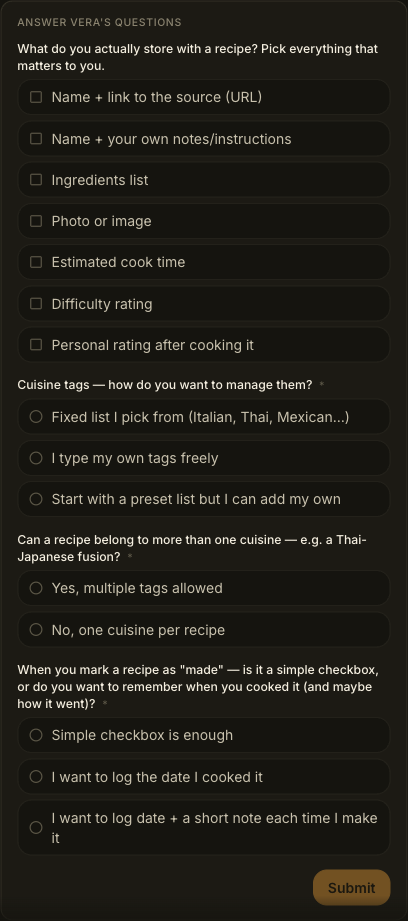
Answer what applies and submit. Vera posts a first summary in the chat: an outline of the data your app will manage, and a note that she’s handing the detailed work to Nora for the business analysis and Remy for the mockup.
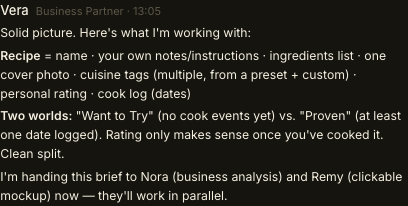
Nora and Remy then get to work, and Vera lets you know when both are ready. Expect this to take a few minutes, typically somewhere between five and ten, depending on how much you asked for.
Everything from the Business team arrives signed as Vera; her teammates work behind the scenes and get credited by name inside her messages when relevant. You don’t manage them individually.
3. Click through the mockup
The clickable mockup is a real, navigable preview of your app that you can click through before any code exists. What you see varies by project, but it’s typically a small set of connected screens rather than a single static image. Here’s an example from a recipe-tracking project: a recipe list, a recipe detail view, a form for adding a new recipe, and a modal for logging when you’ve cooked something.
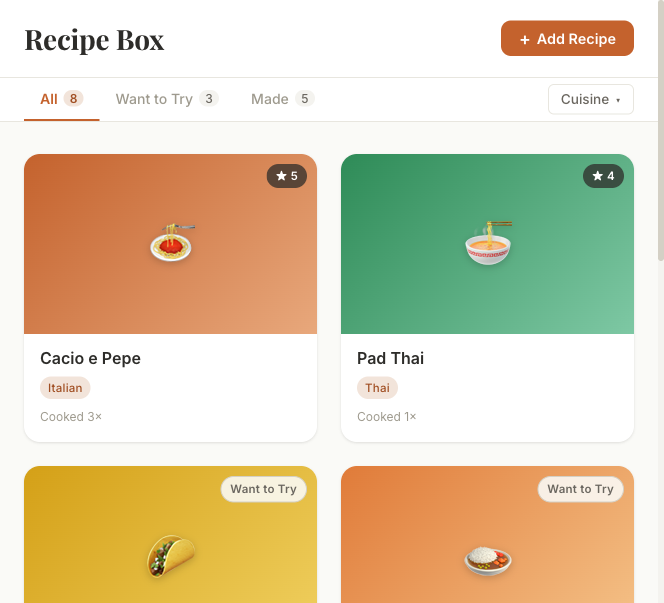
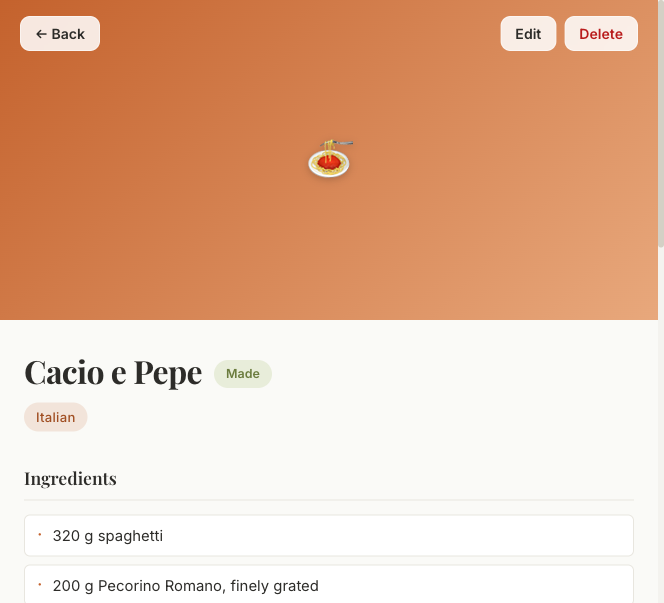
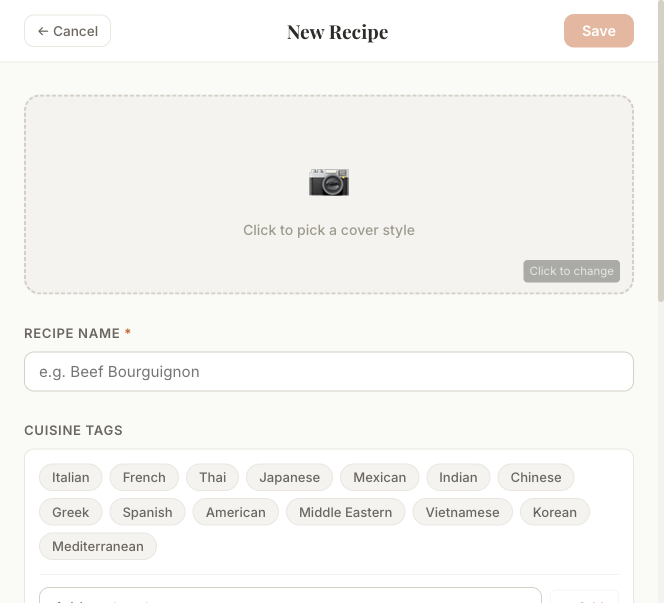
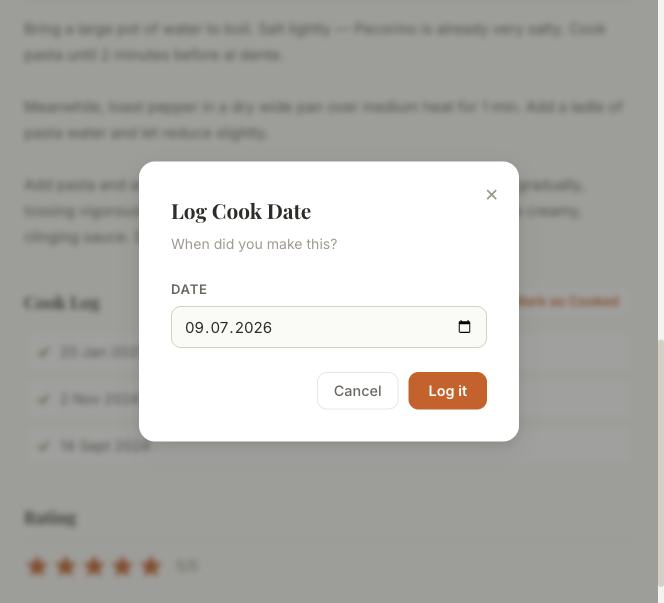
Click through it, then tell Vera what to change: layout, behavior, an extra screen. She’ll have it rebuilt and republished until it matches what you want.
4. Hand off to Mara
When you’re happy with the plan and the mockup, Vera offers a Hand off to Mara card right in the chat, with a one-line summary of what’s being handed over.
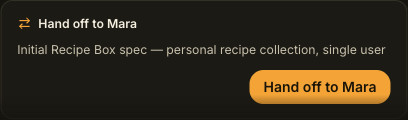
Click it, and TalkIDE opens a brand-new IT conversation, automatically seeded with everything Vera and her team worked out: the brief, the decisions, the mockup. You don’t repeat yourself.
5. Optional fast-track: skip straight to Mara
If you’d rather skip planning and describe what you want directly, switch to the Mara (IT) tab at the top of the workspace. This opens a fresh, separate conversation with Mara, your IT team’s lead — no greeting, just a blank compose box.
Describe what you want directly: what it should do, how it should look, and who it’s for. She’s not working from any assumptions about your project yet, so describe it freely, however it comes to mind.
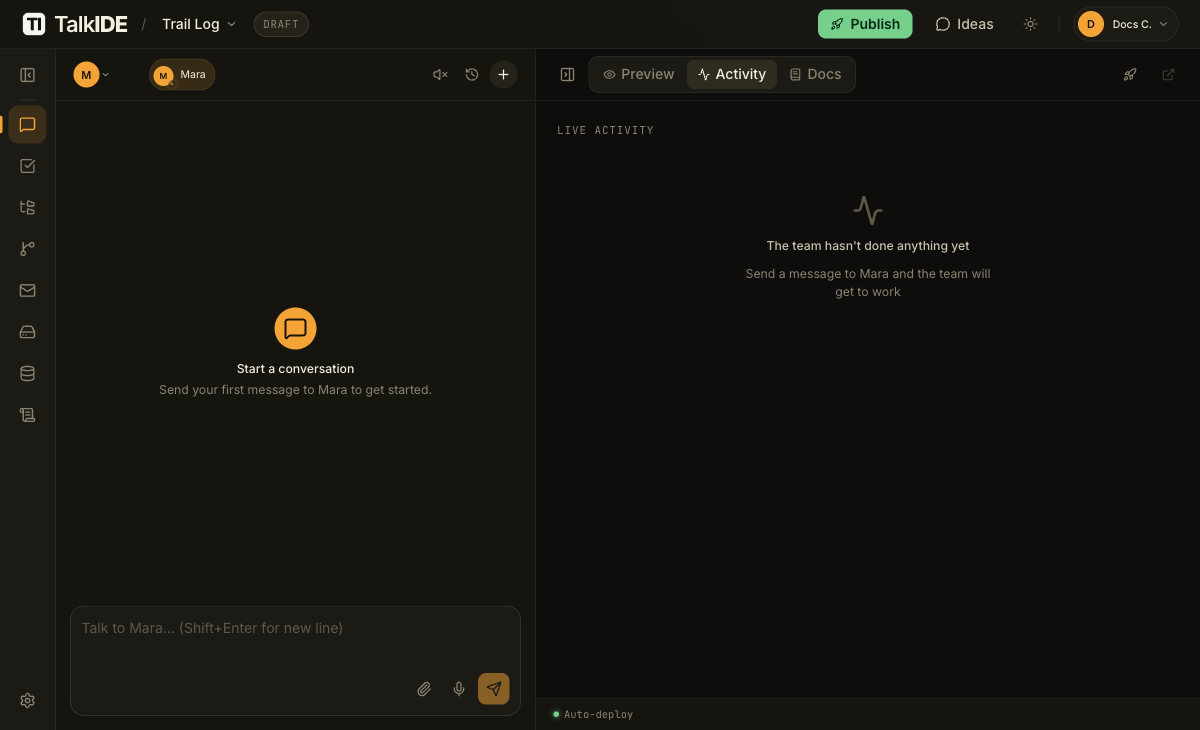
This is the quick path for when you already know exactly what you want: answer Mara directly and the IT team gets straight to work, no plan or mockup first.
6. The IT team builds your app
In the new IT conversation, Mara picks up already knowing the plan, reads through what Vera’s team handed her, and gets to work with her own team of implementation and deployment specialists, turning the plan into a real, running application that appears in your live preview.
If you took the fast-track to Mara instead of starting with Vera, this is exactly what happens the moment you describe your idea to her directly: same team, same process, just starting from your description instead of a handed-off brief.
From here, you stay in the loop by chatting with Mara: asking for changes, reviewing progress, and watching your app come to life.
Watch out for
- The Business team is where every new project starts. Vera helps you shape a plan and a mockup before any code is written.
- You can skip straight to Mara. If you already know exactly what you want, switch to the IT team directly and start building right away.
- You don’t lose context in a handoff. Everything from a Business conversation carries into the new IT conversation automatically; there’s no need to re-explain your idea.
- Everything from the Business team is signed “Vera.” Her teammates work in the background; you don’t manage them individually.
Related
- Agent roles: a full breakdown of who’s on your IT team and what each specialist does.
- How the AI team works: the reasoning behind a team of agents instead of a single chatbot.
- Connect a custom domain: once your app is live, point your own domain at it instead of the default address.
Thanks for the feedback.